ru en
| Help |
|
Joomla!
Contents
- Log in to "Account manager" on http://www.r01.ru website, using your login and password;
- In "Hosting" section select your hosting service and follow the corresponding link in the control panel;
- Go to "Web server" — "Websites" section.
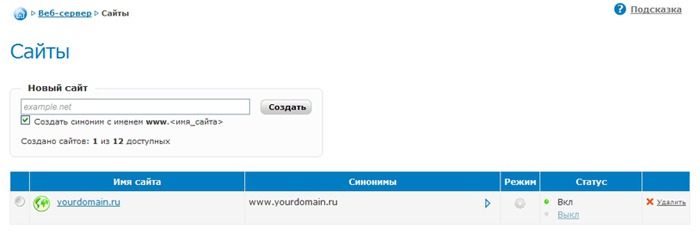
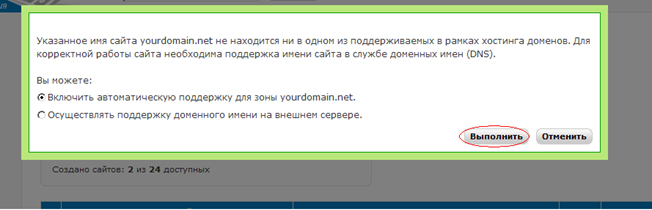
- If you already have a registered domain name, enter it in "New website" line and click on "Create". Agree with the proposal to enable automatic support of your domain zone in DNS system.
Note that for the automatically supported domain the following shall be indicated as DNS servers:
ns01.r01.ru
ns02.r01.ru
ns03.r01.ru - If your domain is registered in R01, you may change the list of DNS servers in panel "Account manager" — "Domains" on www.r01.ru website. Your website will be available on the Internet within 6 hours upon data update.
- If you personally support DNS for the hosted domain you should make the below entries in the zone file at the primary DNS server:
your_domain. A IP
www.your_domain. A IP
where IP is IP address subject to your plan.
This IP address can be found in section "Help" — "Main settings".
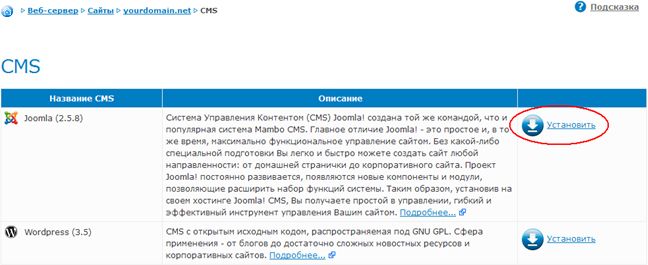
- In section "Web server" — "Websites" click on your
website name and go to "CMS" section. Click on "Set" just opposite CMS Joomla!.
- Upon successful setup of web server and copying CMS Joomla! distributive the page will display data required for its further installation. Do not close this page.
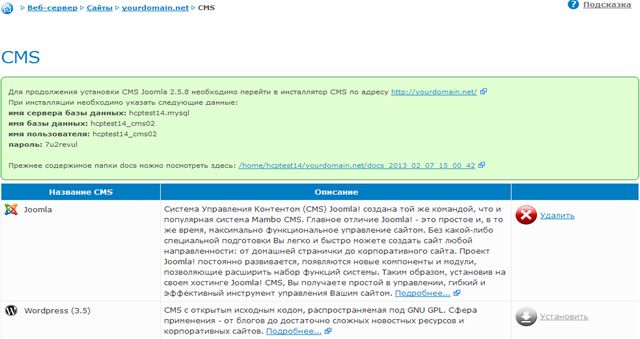
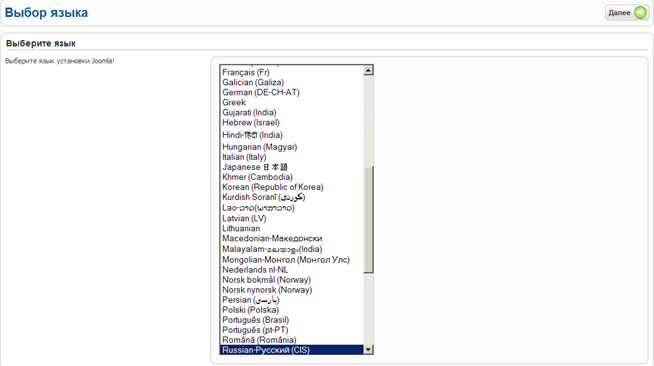
- In the new browser window open your website http://your_domain/ to launch CMS Joomla! installation. In language selection window select "English" and click on "Next".
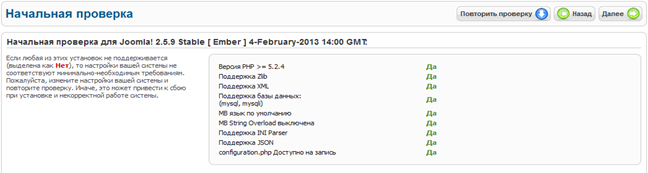
- On the initial checking page click on "Next".
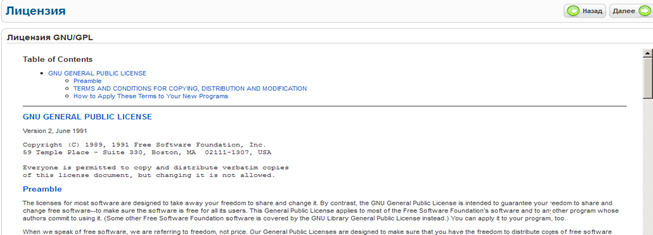
- On "License" page you may study the terms of CMS Joomla! distribution and then click on "Next".
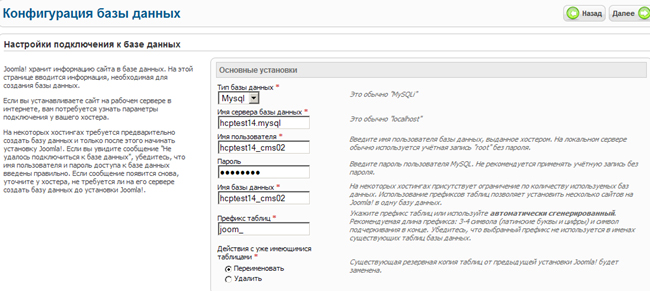
- On "Database configuration" page enter the data you obtained in the hosting control panel. As a type of database select MySQL, table prefix may be of any type. Upon data entry click on "Next".
- Skip "FTP configuration" step, click on "Next"
- On the "Website configuration" step specify the name of your website, your email (all system messages will be delivered to it), user name and password of CMS Joomla! administrator. (these data will be used by you to log in to CMS control panel).
Optionally, you may set demo data to your website, they will give you a keynote how to operate CMS Joomla!. For this, click on "Demo data installation".
Upon filling all fields click on "Next".
- On a final installation step delete Installation directory by clicking corresponding button.
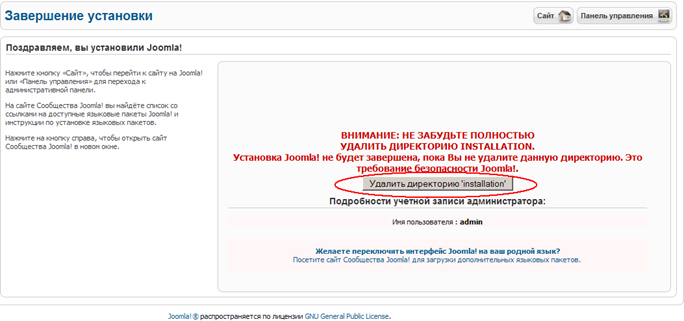
- Installation complete. Now you may go to CMS Joomla! control panel by clicking on "Control panel" in the right top corner. The control panel is also available at http://your_domain/administrator
Information: info@r01.ru
Support: support@r01.ru
Office: 1 Bolshoy Gnezdnikovsky Lane, building 2, Moscow (Tverskaya metro station, entrance No. 9, Voznesensky business center)
Support: support@r01.ru
Office: 1 Bolshoy Gnezdnikovsky Lane, building 2, Moscow (Tverskaya metro station, entrance No. 9, Voznesensky business center)